
Planning and Preparation for Your Tent Art Exhibition
Transforming Ideas Into Action
You’ve got the spark of an idea: a magical tent art exhibition. Now’s the time to shape it into something tangible. Start by answering this momentous question: what story do you want your exhibition to tell? Whether it’s a journey through your artistic evolution or a celebration of bold, emerging talent, clarity in your vision will guide every decision.
Planning is more than just logistics—it’s about creating an experience. Sketch out your layout. Will visitors flow freely or take a guided path through your masterpieces? Think about how natural light might filter through the tent fabric like a gentle spotlight on your work—or whether festive strings of fairy lights will add that whimsical evening glow.
Timeline management is your secret weapon here. Work backward from your dream opening day:
- 6 weeks out: Secure your tent and permits.
- 1 month out: Finalize your list of artworks and start building buzz.
- 1 week before: Nail down your full setup—art placement, lighting tests, and any seating or catering arrangements.
Checklist for Essential Prep
The devil’s in the details—and trust me, there are plenty when it comes to exhibiting in a tent! Have you thought about weatherproofing? A pop-up rain shower shouldn’t leave your canvas soggy. Stock up on tarps and ensure your tent has secure anchoring. And don’t overlook creature comforts like fans or heaters, depending on the season.
Also, consider accessibility for all attendees. Create clear paths for movement, ensure entrances are wide enough, and have signage that’s visually striking yet unobtrusive. Remember, these small touches amplify the magic you’re creating.
Setting Up the Perfect Tent Venue

Transforming a Tent into an Artistic Oasis
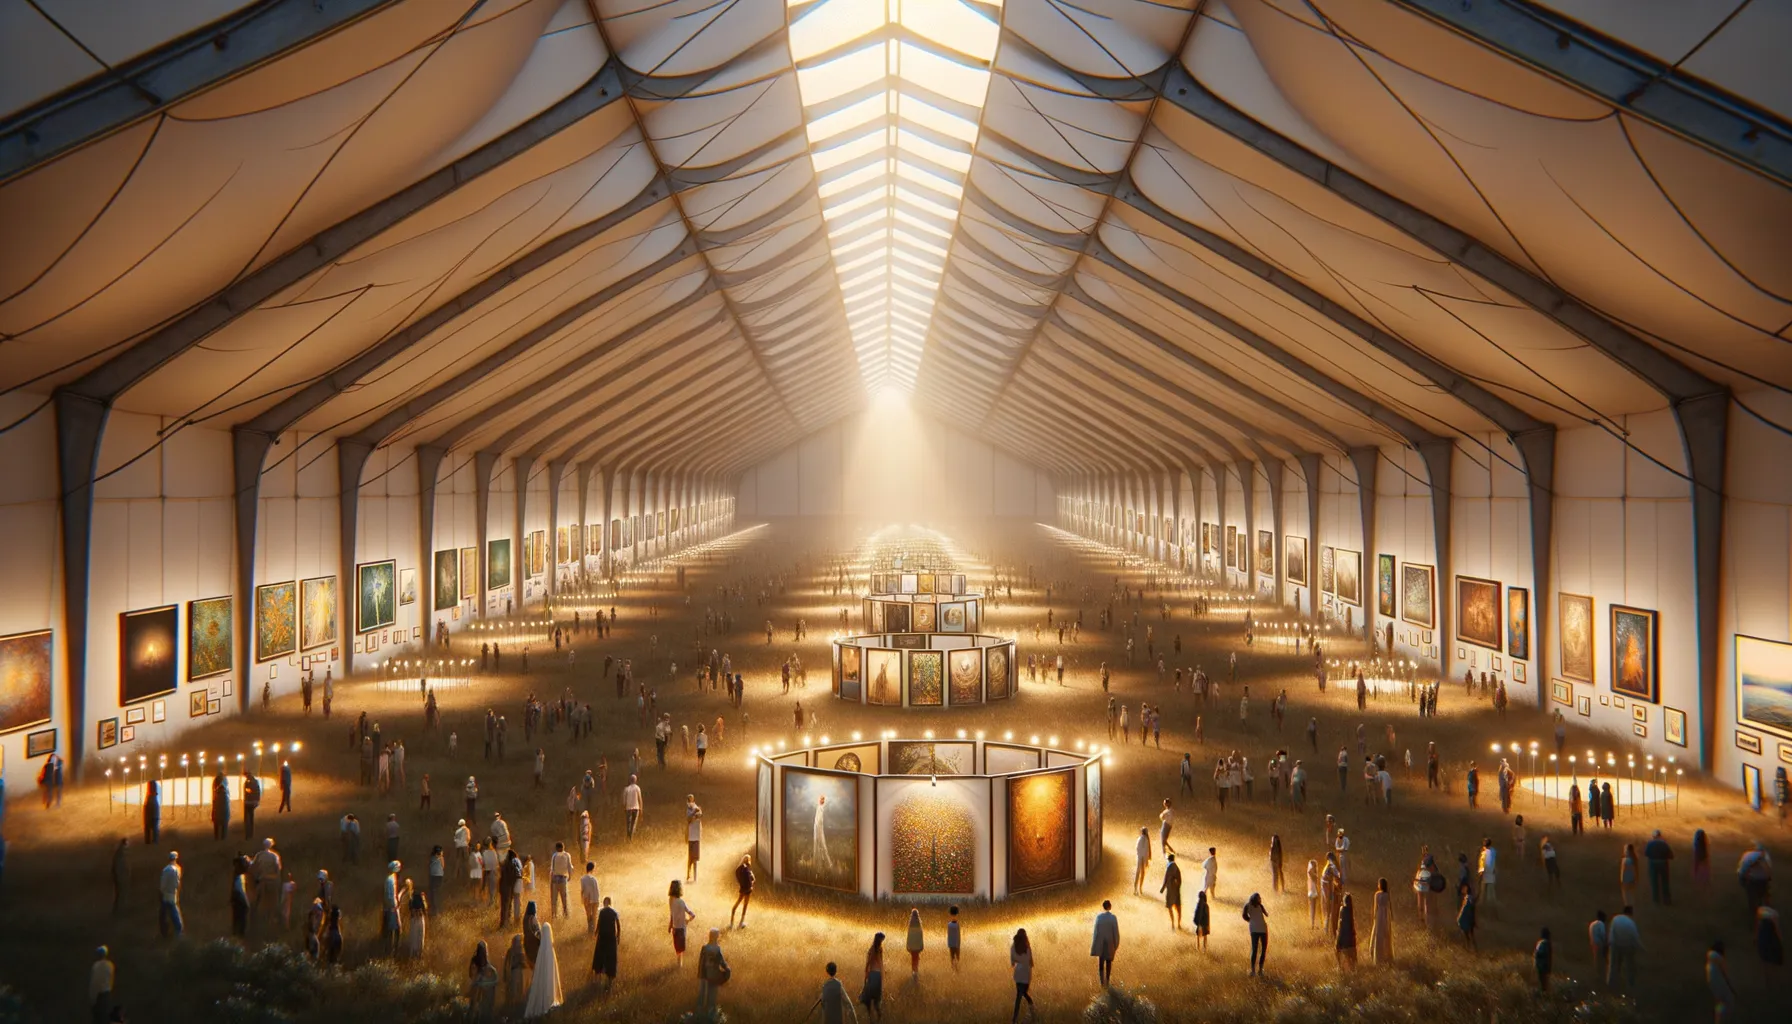
Picture this: A simple tent, once a blank canvas stretched over barren ground, now brimming with the pulse of creativity and inspiration. To craft this magic, start by choosing a tent that suits your vision—whether it’s a minimalistic white marquee or a festival-style canopy shimmering with lights. Remember, the tent isn’t just a shelter; it’s an extension of your art. It frames the experience.
To add atmosphere, play with lighting. String up warm fairy lights, place LED uplights in corners, or let spotlights underscore key pieces of art. Don’t forget airflow—art-loving crowds need comfort, so rent fans or heaters to tame the weather’s whims.
- Flooring: Skip uneven dirt or grass! Consider wooden planks, vinyl tiles, or even rugs for a polished look.
- Walls and Drapes: Blank tent walls? No way. Use neutral drapes for elegance or bold backdrops to complement your artwork’s tone.
A Space That Breathes Character
Why not give the venue personality? Scatter cozy seating pods with cushions, or create a nook with a coffee bar for leisurely art discussions. Think of it as curating a space where every detail whispers, “You’re welcome to linger, to admire.”
Curating and Displaying Artwork in a Tent
Creating a Visual Symphony in Your Tent Space
Stepping into your tent exhibition should feel like entering a world of artistic magic—every detail whispering intention and care. When curating artwork for a tent setting, think about how each piece will spark conversation, evoke emotion, or even make someone pause mid-step. The layout truly matters here. Consider grouping pieces by theme, color palette, or even emotional tone. A collection of bold abstracts? Place them near the entrance to grab attention. Smaller, intimate works? Let them shine in cozy corners where visitors can linger.
Lighting is your secret sauce. Tents often need a little extra glow to make the art pop. Think string lights for a soft ambiance or portable spotlights for dramatic effect. Test everything ahead of time as shadows and glare can be tricky in a fabric-lined space.
- Use sturdy easels or adjustable display stands to handle uneven surfaces.
- Incorporate natural elements like greenery or wooden crates for an inviting vibe.
Remember—you’re not just hanging art; you’re telling a story. Arrange the pieces to create a journey that visitors can’t help but follow. It’s all about atmosphere, connection, and moments of “Wow!”
Promoting Your Tent Art Exhibition

Creating Buzz for Your Big Tent Event
Picture this: your tent exhibition brimming with curious visitors, their eyes lighting up at every corner. To make that vision a reality, you’ll need to roll up your sleeves and ignite some excitement. Promotion isn’t just about getting the word out—it’s about creating an irresistible pull. So, where do you start?
First, lean into the power of storytelling. What’s the soul of your exhibition? Share a snippet of your journey as an artist, or the hidden stories behind a few key pieces. Post these gems to social media with striking visuals (hello, moody evening tent photos!) and don’t forget to sprinkle in hashtags like #TentArtExperience or #PopUpGallery.
Next, craft a simple but charming flyer with all the must-know details and drop it in local cafés, community boards, or bookstores. Curious neighbors = potential attendees.
- Send personal invites to friends, family, and art lovers in your circle.
- Partner with a local musician or food vendor to add an extra thrill to the event.
Remember—promotion is less about shouting and more about whispering secrets people want to discover. Keep it authentic, and they’ll come.
Tips for Ensuring a Successful Event

Creating a Captivating Atmosphere
Transform your tent into more than just a venue—make it an *experience*. The beauty of a tent setting is its intimacy, but that also means every detail counts. Think about lighting: will soft string lights add a magical glow, or do you need focused spotlights to highlight the intricacies of each piece? Small touches, like scented candles or live, ambient music, can elevate moods and keep visitors lingering.
Don’t forget practical needs. Ensure ventilation keeps guests cool on warm days or heaters provide comfort if the evening turns chilly. And oh, never underestimate a thoughtfully placed rug—it not only makes the ground cozier but often doubles as a conversation starter!
Little Details That Make a Big Difference
The best events often sparkle because of seemingly tiny details. Here are a few ideas to inspire:
- Personalized welcome signs: A handwritten note or displayed artist bio near the entrance feels warm and inviting.
- Interactive stations: Offer a corner for guests to sketch or leave their thoughts in a guestbook—it creates connection beyond just viewing art.
- Hydration stations: Simple infused water jars with lemon or herbs keep people refreshed…and coming back for more!
Above all, be adaptable. No matter how carefully you plan, surprises happen. But those unplanned moments? They’re often where magic sparks.